Free diecutting files

Showing posts with label altered items. Show all posts

Friday, 12 March 2021

Loaded Giftbag


A few weeks ago I played along with the Loadedbag valentines challenge from Kimya. 

I loved it so much I think I will do this more often , It's a very nice way to make a big gift out of little gifts.

I used the Miles Apart collection from Maja Design together with a kit from Kimya . This kit contained the basic things paperbags, envelops and tags and such..

Designpaper ,embellisments ,everything else you have to provide for your self.   I really loved it and want to show the outcome of my project to you.


This is the front of the bag loaded with fun things.

and this is the back.

 
In the bag you find these two decorative items just for fun:  a lollyop made with a big rosette and a altered popsicle stick .with a little rosette. 

A decorated giftbag with an altered spool and a little bagholder made from two  manilla labels.


A little pocketletter containing a small envelope for maybe a message or giftcard, shakerpocket and pocket with label.

Two little brown bags with tea and powder chocolate milk, and a bigger shakerpocket made of a glassline bag because shakers are fun.

The stamps I used are from Waltzing Mouse.


And a minialbum made with 3 little craft envelopes.


Each envelope contains a little card with photomat on the back and front.

I hope you like this project just as much as I do. It was so much fun to make. I know I will make  some more it's just a perfect gift to give for some one who already has everything.

 Thank you for visiting and stay safe.  


I

Saturday, 3 August 2019

Dream without fear.

Hello , today I have something differend for you.
I have been playing with the patina pastes from Finnabair and made this frame with it.
I love how it turned out and it will get a special place in my crafboudoir.


     Thank you for visiting  , If you leave a comment I will come visit your blog too.


Wednesday, 31 July 2019

Notes

.

Hello today I bring you this little notebook I use for my grocery lists. 
It had a plain boring craft cover so I thought let's make it pretty it is lies on my kitchen table so want it to be nice to look at. 
Only thing I need to do now is to remember to take the list with me.

Thank you for visiting my blog. If you leave a comment I will come over to yours to take a look at your beautiful projects.


Thursday, 3 January 2019

One more time Christmas.


First I want to wish you all a very Happy and creative New year. I hope you had a wonderful Holiday Season.
I’m having  a bit of a hard time to say goodbye to it. I always love that time of the year.
So one more Christmas post from me for closure and to start with the new year.

As you see no layout , card or minialbum but  a altered clock. I bought this  one a while ago at the dollar store , and is was waiting for the perfect opportunity  to come along .
When I got the latest collection Christmas Season collection I knew I had to use them for this project.
Here you have a closeup from the top of the clock.


And one close up from the bottom.  The christmas cards are cut out of the Greeting Cards sheet.

And one more from the side.


I hope you like my Clock. I'm going to  keep it at my craft room as a countdown to next Holiday season.


Friday, 31 August 2018

Treasure your memories


Hallo hier ben ik weer . Dit keer met een gealterde fotolijst in een heerlijk zomers thema. 
Ik heb voor dit werkstuk de foto's van mijn vriendin en haar kids gebruikt en een heel simpel 3d lijstje van de action. 
Eerst heb ik de lijst geschuurd en daarna drybrushed met plasterpaste van finnabair. Voor een verweerde look. Ik heb geprobeerd om een look te creaeren als of het lijstje al een tijdje met weer en wind in de duinen of op strand heeft gelegen.
Voor de achtergrond heb ik een soort van hekwerk/ beschoeiing geknipt uit een vel Vintage summer basics 1905 van Maja design. 
Voor de "lucht"  heb ik Vintage summer basics 1936 gebruikt ook van Maja design.
De knijpertjes heb ik eerst grijs gemaakt met Ayeeda Mists  chalk grey van 13@rts met daarover heen een veeg witte plasterpaste. 


Voor het strand aan de onderkant heb ik artstones  gemixed met 3Dmatte gel  gebruikt ( beide van Finabair artbasics)  en daarin heb ik schelpjes gedrukt. Een zeester en wat  visnet erbij en het was klaar.


Ik hoop dat jullie dit "schilderij net zo geslaagd vinden als ikzelf. Wij zijn er superblij mee.  Ik omdat het geworden is precies zo als ik het me voorstelde en mijn vriendin  omdat ze haar geleende foto's  in een mooie lijst heeft terug gekregen.


Thursday, 31 May 2018

Gifttube for Birthday / Anniversary gift

A few of the things I love is recycling pretty packaging.
Every time I get a gift or buy something I take a close look at the package and see if I can make something nice out of it.
Good thing I have enough space to store all the interesting items , the only thing I need now is time , lots of time , but think that is a common problem we crafters have.
Anyway  I got some scented sticks ( love those too)  and the came in this tube .

We had a anniversary and double birthday party coming from friends , the asked money so they could buy something nice that was very expensive.
I think just giving money is boring , so wanted to make a nice package to put it into and I had this tube lying around so cut half of it and made this out of it.

 On the top lid I glued a buch of flowers


 Under the lid I glued a satin ribbon that you can pull to take the lid of and it's also a handle to hold the gift.


 and a little birthday card to go with it and voila, gift tube is done.


For this project I used the Celebration Collection , what better papers are there to use for this gift tube than  the celebration Collection right?
Flowers are from Wild orchidcrafts , pearls and ribbon from my private stash.
Thank you for visiting.
I hope you like my project for this week and hope I gave you some inspiration for recycling those tubes.
I have more tubes lying around so will be back with another one soon.


Thursday, 20 April 2017

Grow


Hallo hier ben ik weer eens.  Dit keer met een schilderijtje of hoe je het ook noemen wilt.
Het lijstje had ik al een tijdje liggen met de bedoeling er iets als dit mee te doen. 

De vlindertjes heb ik uit een vel  geknipt en zo opgeplakt alsof ze uit de lijst vliegen. Ik vond ze wel toepasselijk bij het woordje grow en mijn bedoeling achter het hele schilderijtje.
Het schilderijtje komt in het zicht op mijn hobby kamer te staan. Om mij eraan te herinneren dat ik in mijn werk moet groeien. Ik heb nogal de neiging om van mezelf te verwachten dat het allemaal in een keer goed moet zijn en zo werkt dat natuurlijk niet.
Ik heb dit schilderijtje gemaakt voor de  April Moodboard Challenge van Maja design.


Photobucket

Saturday, 3 December 2016

Sorteerhoed voor een Harry Potter fan.


Deze keer eens iets heel anders dan een kaart  . Mijn dochter moest een surprise maken voor haar vriendin die een enorme Harry potter gek is.  Met halloween had ik een heksenhoed gekocht dus kwam al gauw het idee om die om te toveren in de sorteerhoed . 
Nou treft ze het dat ze een moeder heeft die een beetje handig is en graag helpt. Dus aan de slag  met laken , verf en pretex ( had ik nog liggen  dus kwam mooi uit) Dit is hem dan geworden. 
Dochter en vriendin helemaal happy en stiekum ben ik toch best wel trots op het resultaat.

Photobucket

Wednesday, 2 March 2016

Happy birthday..

Zo het heeft even geduurd maar hier ben ik weer . Mijn blog had kuren  wilde de foto's niet uploaden .Ik zat er al over na te denken om een nieuwe blog te beginnen maar  gelukkig werkt nu alles weer. Ik heb ondertussen nog wel het een en ander gemaakt en zal dat allemaal nog gaan plaatsen , maar nu eerst de nieuwe Challenge van Craftliners
Voor deze challenge vragen we je iets te recyclen.. Ik heb  een emmertje van de snoeptomaatjes genomen en die gevuld met lekkers voor in en bij de koffie . 
Kom gauw eens kijken wat de rest van het designteam voor geweldigs heeft gemaakt voor De Challenge van deze maand en doe gezellig mee. 


Photobucket

Monday, 31 August 2015

All Kind of thoughts..


 I love the digital papers of Iralamija ( in case you didn't know yet)  And I never throw away the little scraps and snippets I have left over from making a card or project using this papers. I just can't ... I love them to much.  Only thing is that at a certain point I have a lot of little bits and pieces . These are great for using fun little shabby projects like this little tin with mini album in it. 
For this one I used a tiny peppermint tin it's 2 3/8 inch by 1,5 inch and you can by it at the xenos.. of course you can use an altoidtin as well

The first thing you do is sand it sandpaper , I used the 120 one , than you paint it with an al-purpose primer. I used  Aleene's ( see picture) .
Let it dry thoroughly and than  paint it in your favorite color acrlylicpaint  ( I used ivory from Aleene's) After you let that dry, you can sand it a little to get it a worn look and than you can decorate it with your favorite papers , I used tombow mono multy liquid glue to stick it on the tin, in my opinoin it's better than tacky glue what I use a lot too.
Than you make some little chipboard pages that fit in your tin,decorate with the basis layer ,them and distress the edges
I love my prima distressing tool for this job, I have an oldie from making memories too but that works only on papers.  The one from primamarketing works perfect with thicker objects like chipboard .
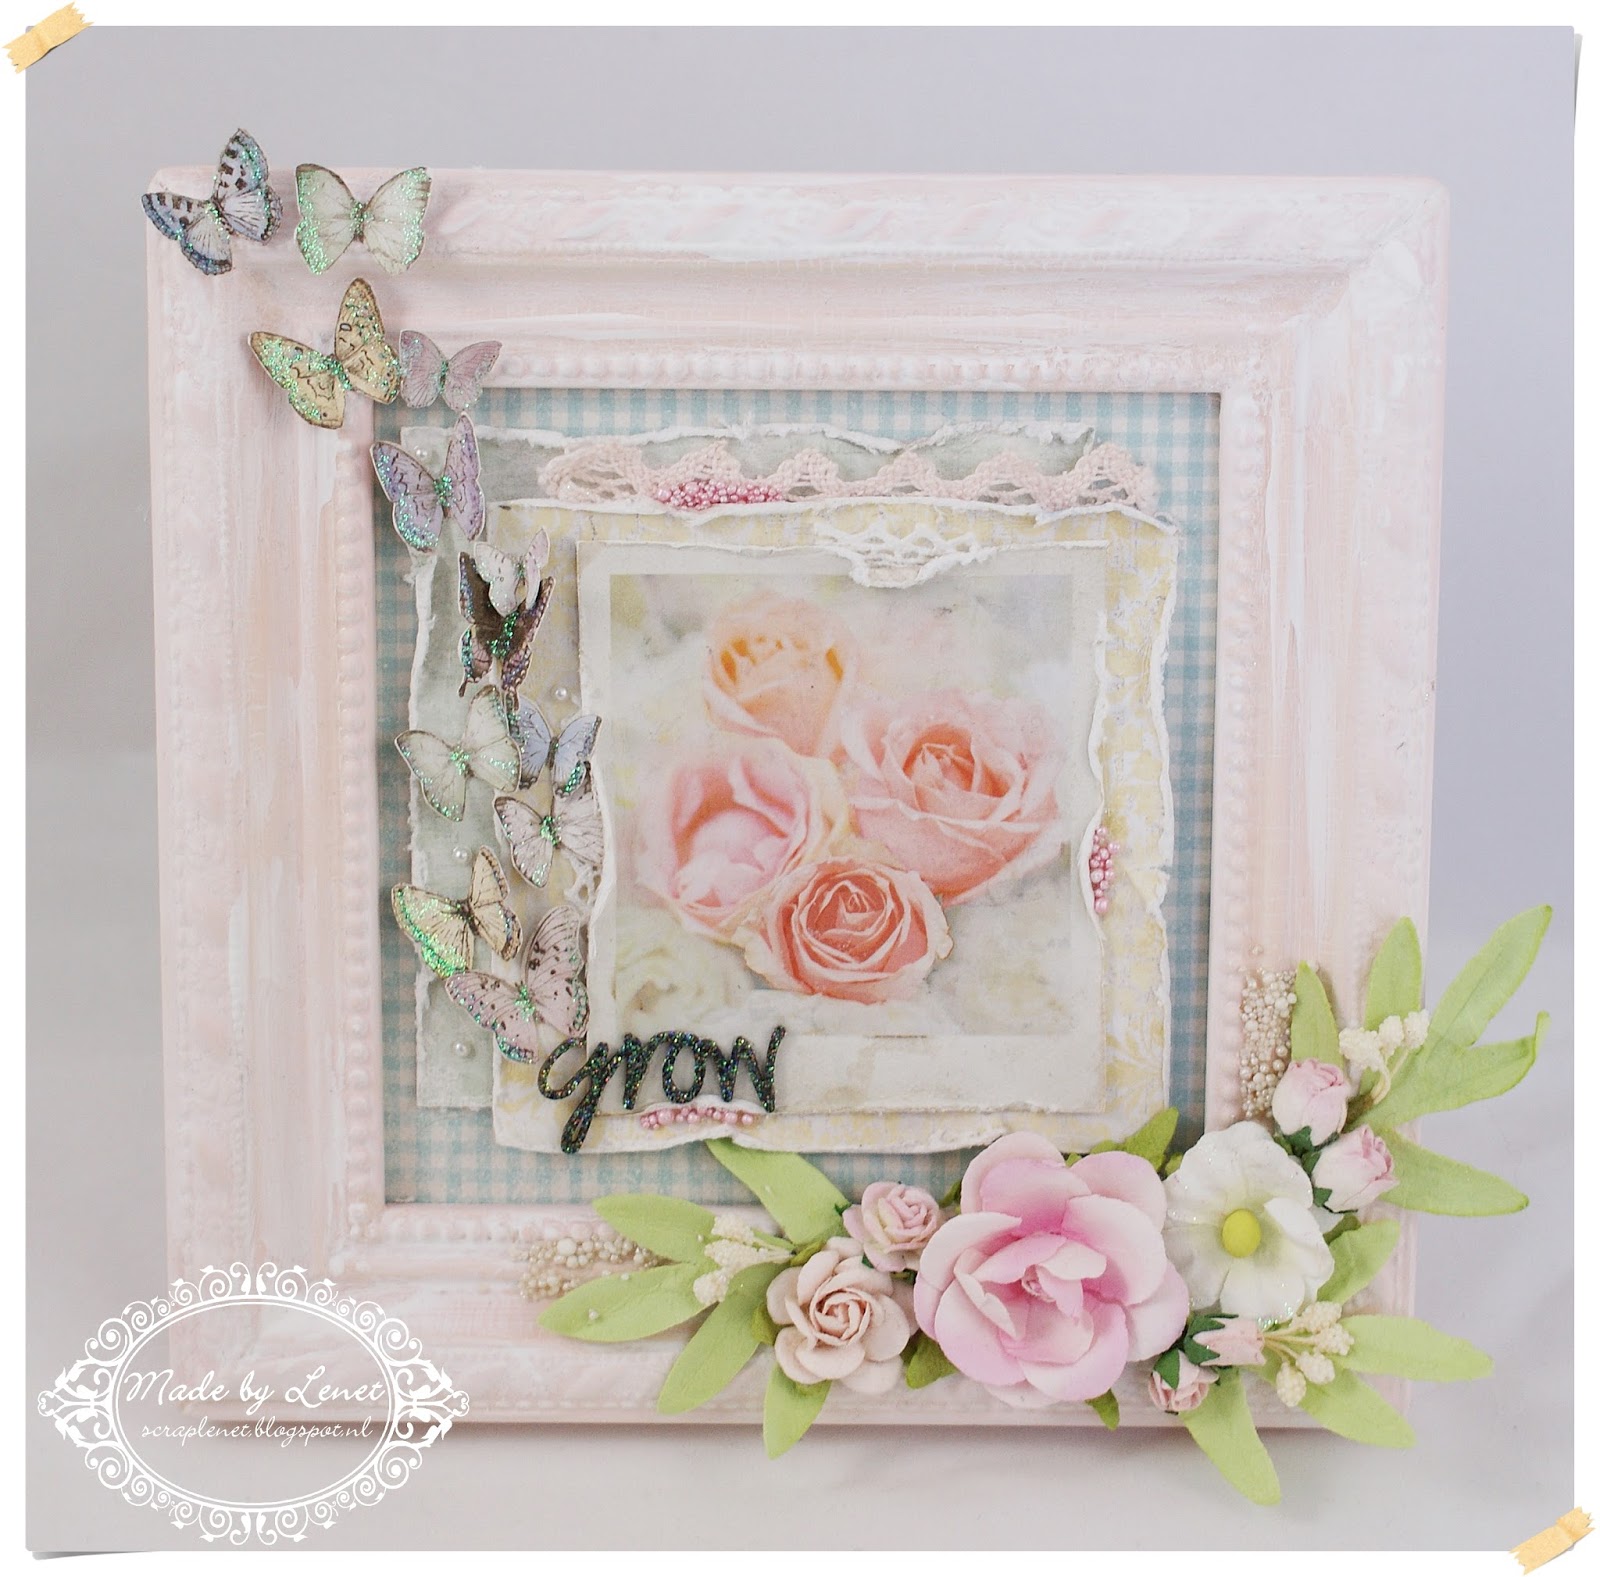
As you might have noticed. I like to add a little shimmer to my embellies and frames.
I am a but clumsy if I work with glitter you can find it allover the house and it sticks to my fingers to be short : it's every where besides where I want it. But i found the perfect solution for that . I use a mixture of fine glitter like the sugar coating from Doodlebug and clear embossing powder. I use 1/3 clear embossing powder and 2/3 glitter.
First I color or paint my to glitter object in the color I want it , than I cover it with, in this case versamark watermark ink.. the Perfect medium from Ranger works great too . Actually I prefer that one but it was empty so I used his one it did the job perfectly.
Than dip your to glitter item face down in your mixture , add a little pressure . get it out and heat it with your embossing tool.. taaadaaaa.. a perfect glittered.
I used to make  my mixture in a little bottle, and than pour it over the object using  a tidy tray ( see tutorials)  but found it works better to make the mixture in a container and dip the object in the mixture..less mess.

Tie everything together with I little binding ring or piece of lace, ribbon, string..what ever you want. Or maybe keep them apart like cards and put it in your decorated tin.

I'm not really shure what papers I did use for this project but these are the ones I know for shure.
They are all available at the Iramalija etsy shop. Some of them I printed in a smaller size , and that's just what I like about digital papers : you can print them when ever you want, how you want and how much you want.

Photobucket

Tuesday, 19 May 2015

Shaby Chic huisjes...

Shabby Chic huisjes deze keer , gemaakt met het papier uit de Iralamija etsy shop.
Het blijven toch een van mijn favoriete papiertjes.. De huisjes heb ik gemaakt met de artfull dwelling stans van Tim holz. 


Photobucket

Tuesday, 17 February 2015

Timeless Spirit.

Because I won the  challenge of week 246 from the Citycrafter Challenge blog . I got the honour to be this weeks guest designer . 
Their challenge theme this week is : Love Metal. They ask you to creat a project using one (or more) metal piece, and this is what i came up with. I made this ornament using a metal cookiecutter. 
Now hop over to the Citycrafter Challenge blog And check out what the designteam made for you to inspire you. It really is a fun challenge so..Join!.


Photobucket